

Hi everyone, today is Day 6 of our 12 Days of Handmade Christmas Ornaments.
Today, Emily @ Not So Idle Hands is here with her cutie girls showing us her handmade ornament. It is awesome, I hope you all try it out.
Have a wonderful rest of the weekend! And be sure to check out the giveaways going on here, just keep scrolling!
Have a wonderful rest of the weekend! And be sure to check out the giveaways going on here, just keep scrolling!
Here is Emily!

Woo Hoo!
Hi, I'm Emily (or MLE.....get it M~L~E?) from Not So Idle Hands and I'm SO excited to be here guest crafting with Kristin!
When she asked me to help out with this......I knew exactly what ornament I wanted to show.
So on with the show!

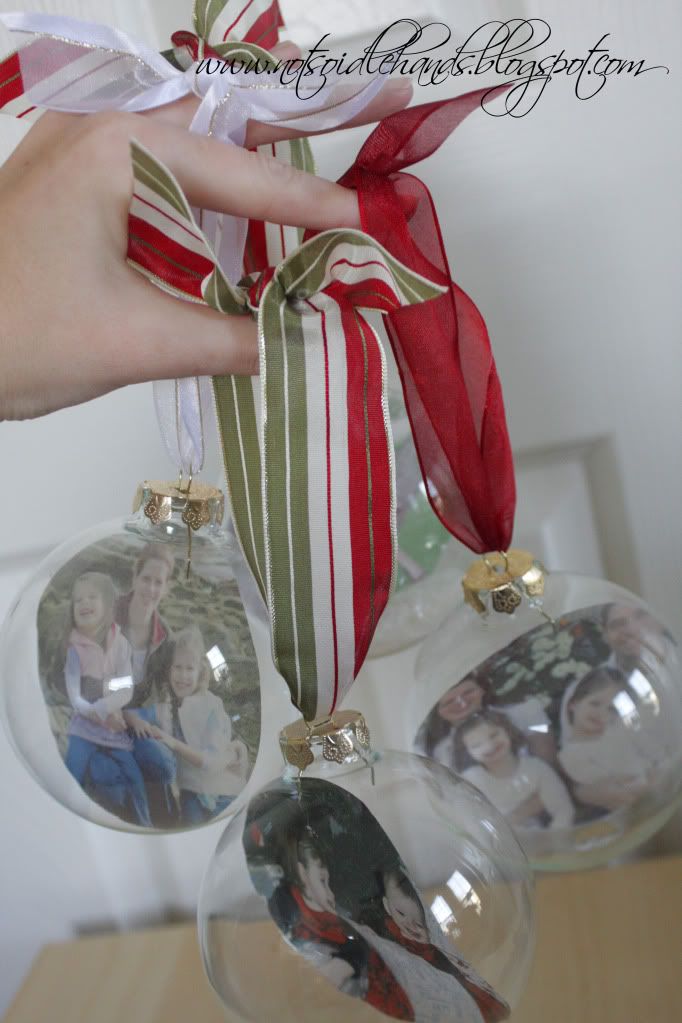
I saw some like these on my friend's Christmas tree a few years back and HAD to make some myself! I've made these as gifts for grandparents and we have TONS on our tree each year too :)
AND.....
SO easy!!
Start off with some:
Plain glass ornaments (any size you want, but I like the 4in. (or 100mm) size since they are nice and big).
- Vellum
- Photo printer
- Some Big, Fat, Purdy ribbon
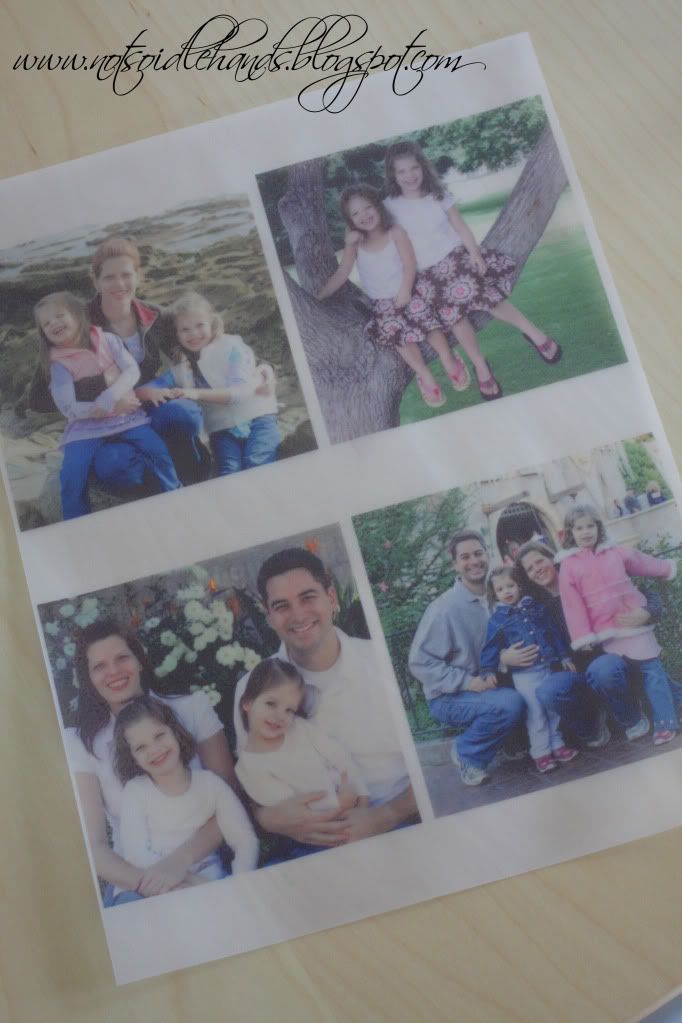
Open your pictures in Photoshop or other editing software and size them down to 4"x 4" and print out onto the vellum. (Sorry, but these pics printed kinda grainy)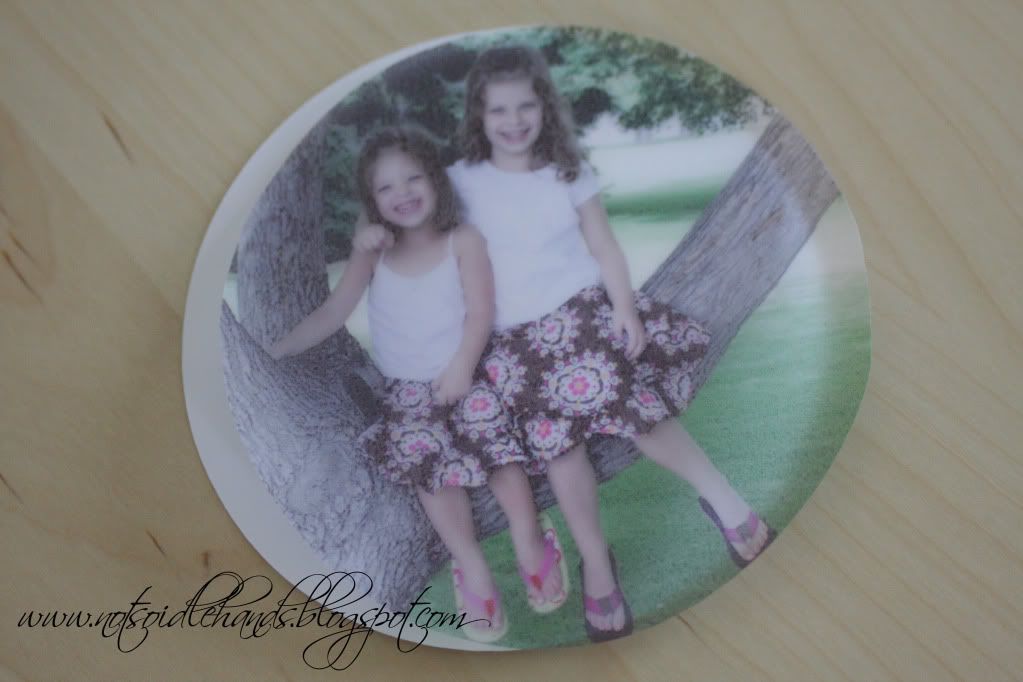
Then, cut out in a 4in diameter circle. I cut a 4" circle out of cardstock (yup, using my Cricut) and used that as a pattern.

Then, roll it up and slip it into your ornament.
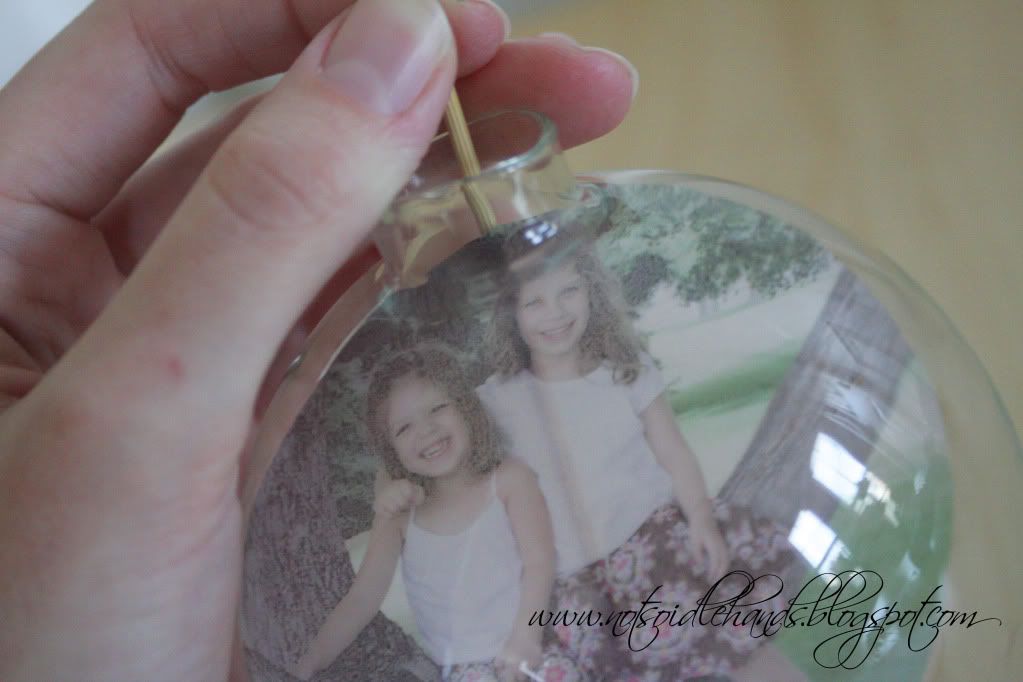

You can use a bamboo skewer to help get it in the perfect position, then i hold it in place with the topper (as shown).
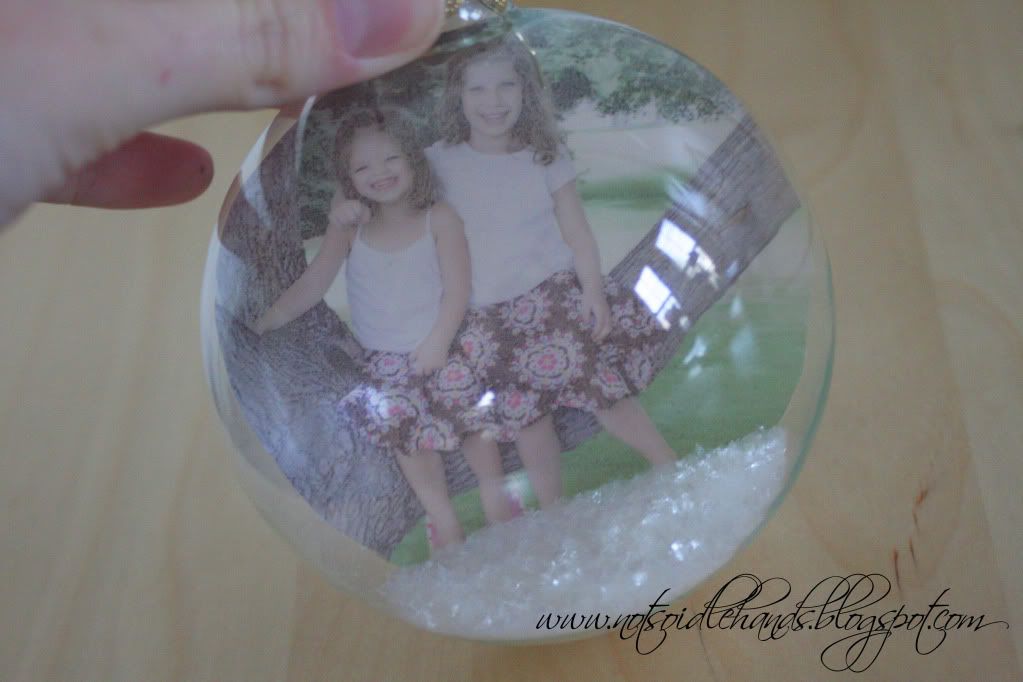
The girls really wanted me to put snow into one of them.....and it actually looks pretty cute! Just add some till you like it (I used Martha Stewart snow glitter). But, I guess it would have been better to not put snow in the picture that was taken in August :0)


Now, top it off with a big fat ribbon......
and be sure to hang it in front of some lights on your tree so they shine through!
Be sure to make plenty for all the relatives and grandparents and stop by Not So Idle Hands often to catch my 25 Days of Christmas!


7 comments:
How cute! For the summer ones you could put some fine sand w a little glitter in it to make them sparkle. I did a similar project for our chilren's theater participants with a mini version of the ad poster
Super cute! I bet you could add in tinsel or shredded paper too?
Angie
Love them! I did ornaments like this last year and they got rave reviews. But I gotta tell ya, printing the pics on vellum takes it up a notch. Must-try-soon! :) Thanks for sharing with us!
God's blessings, Sarah :D
Emily does it again - wonderful!
I love how the lights shine behind it, super cute!
NOTHING'S better than personalized pictures! THanks MLE!
Love 'Em Emily!~~~ No surprise! You rock!
Post a Comment