Part 3
Let's Finish This Quilt!
For the final part, you will need:
Quilt
Binding Fabric
Straight Pins
And it is really nice if you have a rotary cutter, ruler and mat (but scissors work too)
For this quilt I chose to use 2 1/4 inch strips to make the binding.
You can also use 2 1/2 inch strips. I am not sure why one would chose one way over the other.
But I was not sure if my little fat quarter of green polka dots would be enough so I thought this would give me a little extra fabric.
So cut your binding fabric into strips.
Place the right side of 2 strips of fabric together and sew.
Continue sewing to create one long strip of fabric. 
Once you have a long strip of binding fabric, press all of the seams outward.
Fold the binding fabric in half and press.
as the picture shows, when you reach the end of the binding fabric,
open it up a bit and finger press the end back and press.
This is so that when you join the binding together on the quilt,
you will not have any
raw edges.
Fold back over and iron in place.
The binding fabric is all prepared.
Trim your quilt so that the top, batting and backing are all even.
The rotary cutter is extremely helpful with this.
Now, using your straight pins line up the raw edge of the quilt with the raw edge of the binding fabric.
Pin in place along the edge of the quilt.
When you approach the corner,
place a pin at an angle 1/4 inch from the edge.
Then pull the fabric backwards
(see picture below)
Fold the fabric back over itself.
Pin in place at and angle.
You will have 2 pins in each corner.
This will create a small flap
Continue to pin the binding fabric all along the quilt until you approach the starting point.
Make sure you have enough fabric to overlap at the starting point.
I would suggest switching back to your 1/4 inch foot if you have one.
Start sewing your binding to the quilt, leaving a good couple of inches unstitched
at the starting point. You will join the edges later on.
When you come to a corner,
sew almost all the way up to your first pin.
It should be right around 1/4 inch from the edge.
Make sure to remove the 1st pin.
Once you have sewn to 1/4 inch from the edge,
life the needle and presser foot and pull the quilt out slightly.
Leave the thread attached.
Turn your quilt so that you may continue to sew down the next side.
Move the flap to the other side and place the quilt back under the presser foot.
Start sewing again 1/4 inch from the edge.
Continue sewing to attach the binding and use the same process for each corner.
Now to attach the binding edges.
There are other ways to do this but this way seems to work for me.
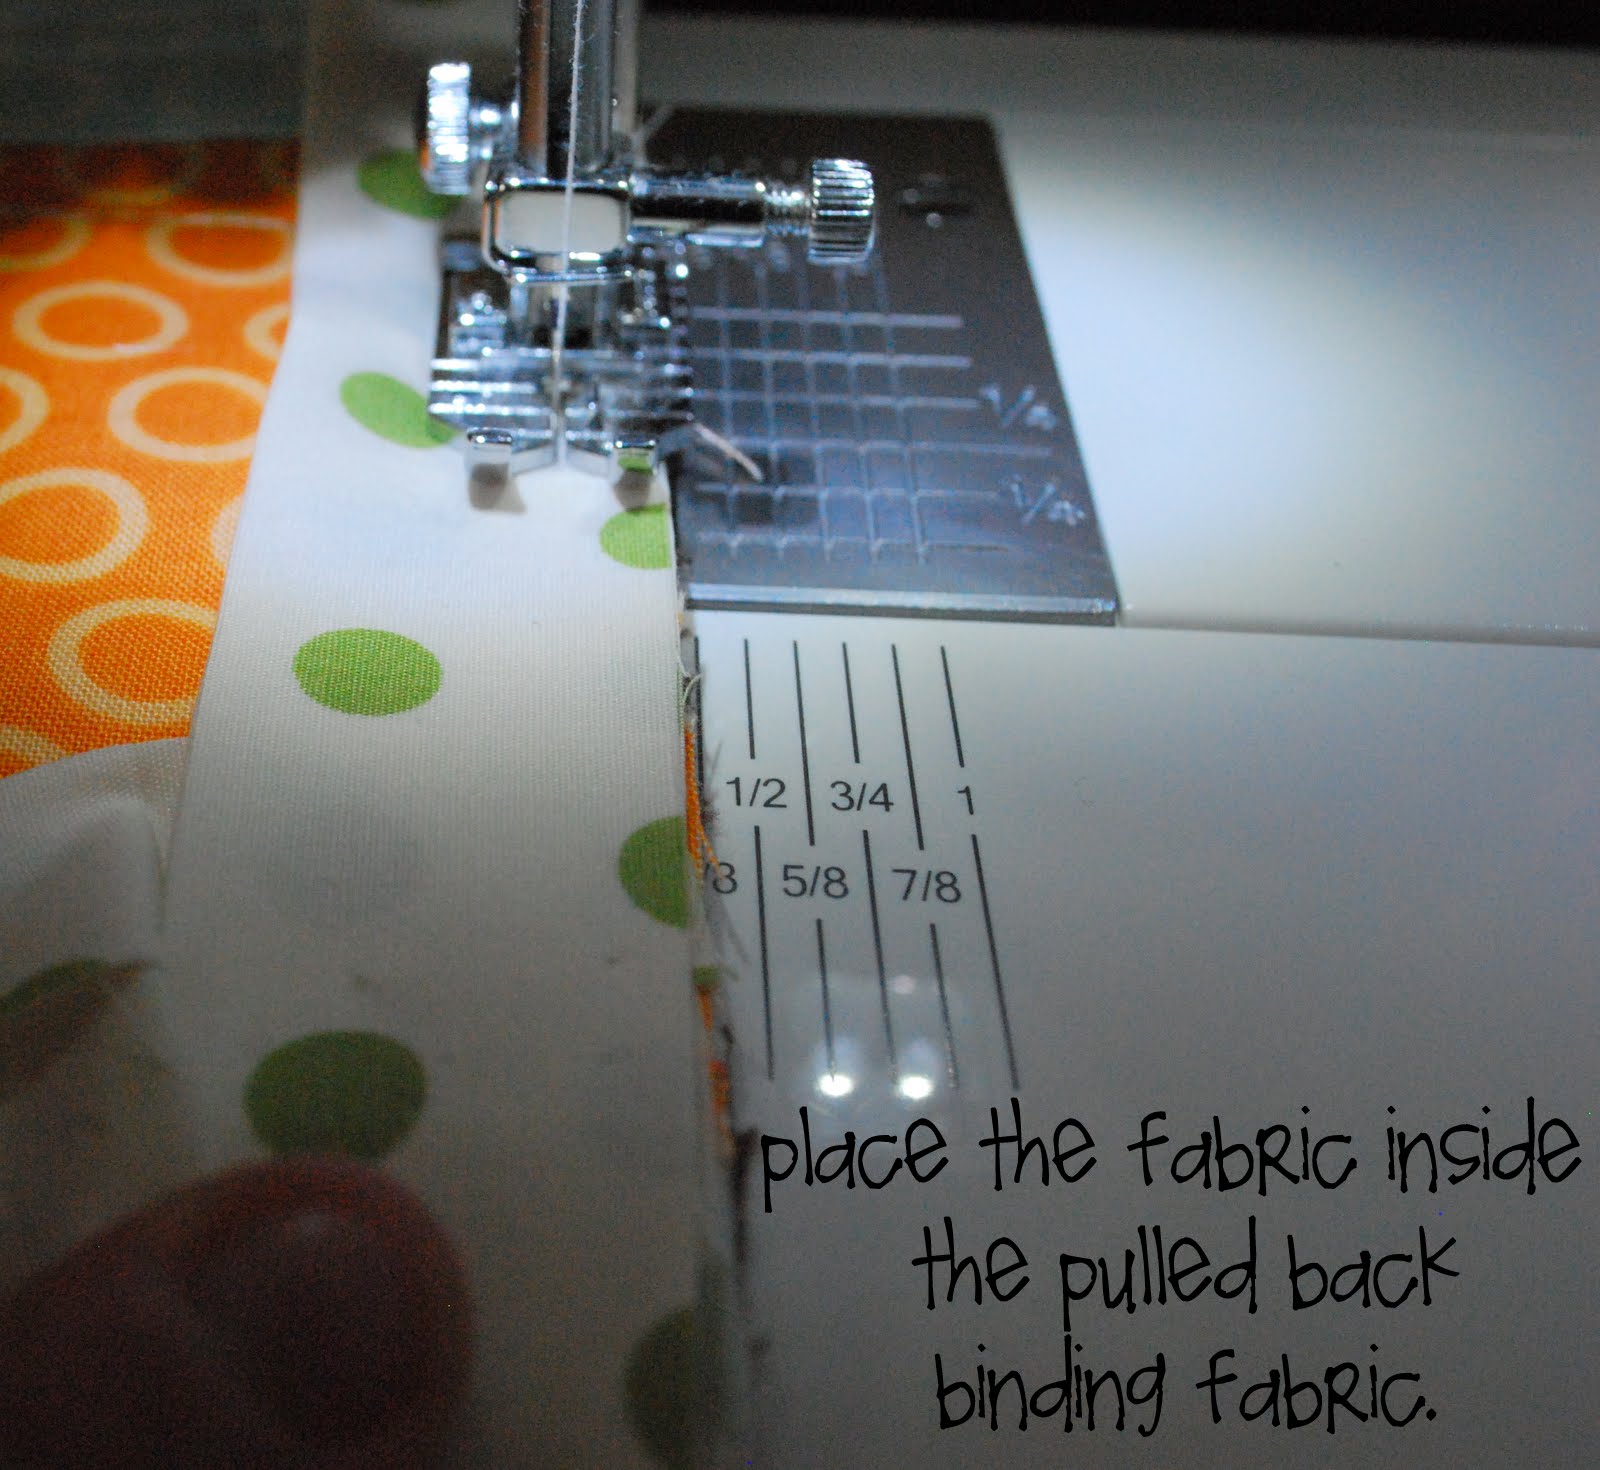
Approach the starting point.
Fold back your binding at the starting point.
Place the fabric inside the binding fabric.
Sew a couple of stitches and the backstitch so you can close the binding fabric.
Continue stitching a bit more and overlap your first stitches.
Now to close the binding on the back of the quilt.
I hand stitched this binding. You can also machine stitch a binding, but this one is special so it has been handstitched.
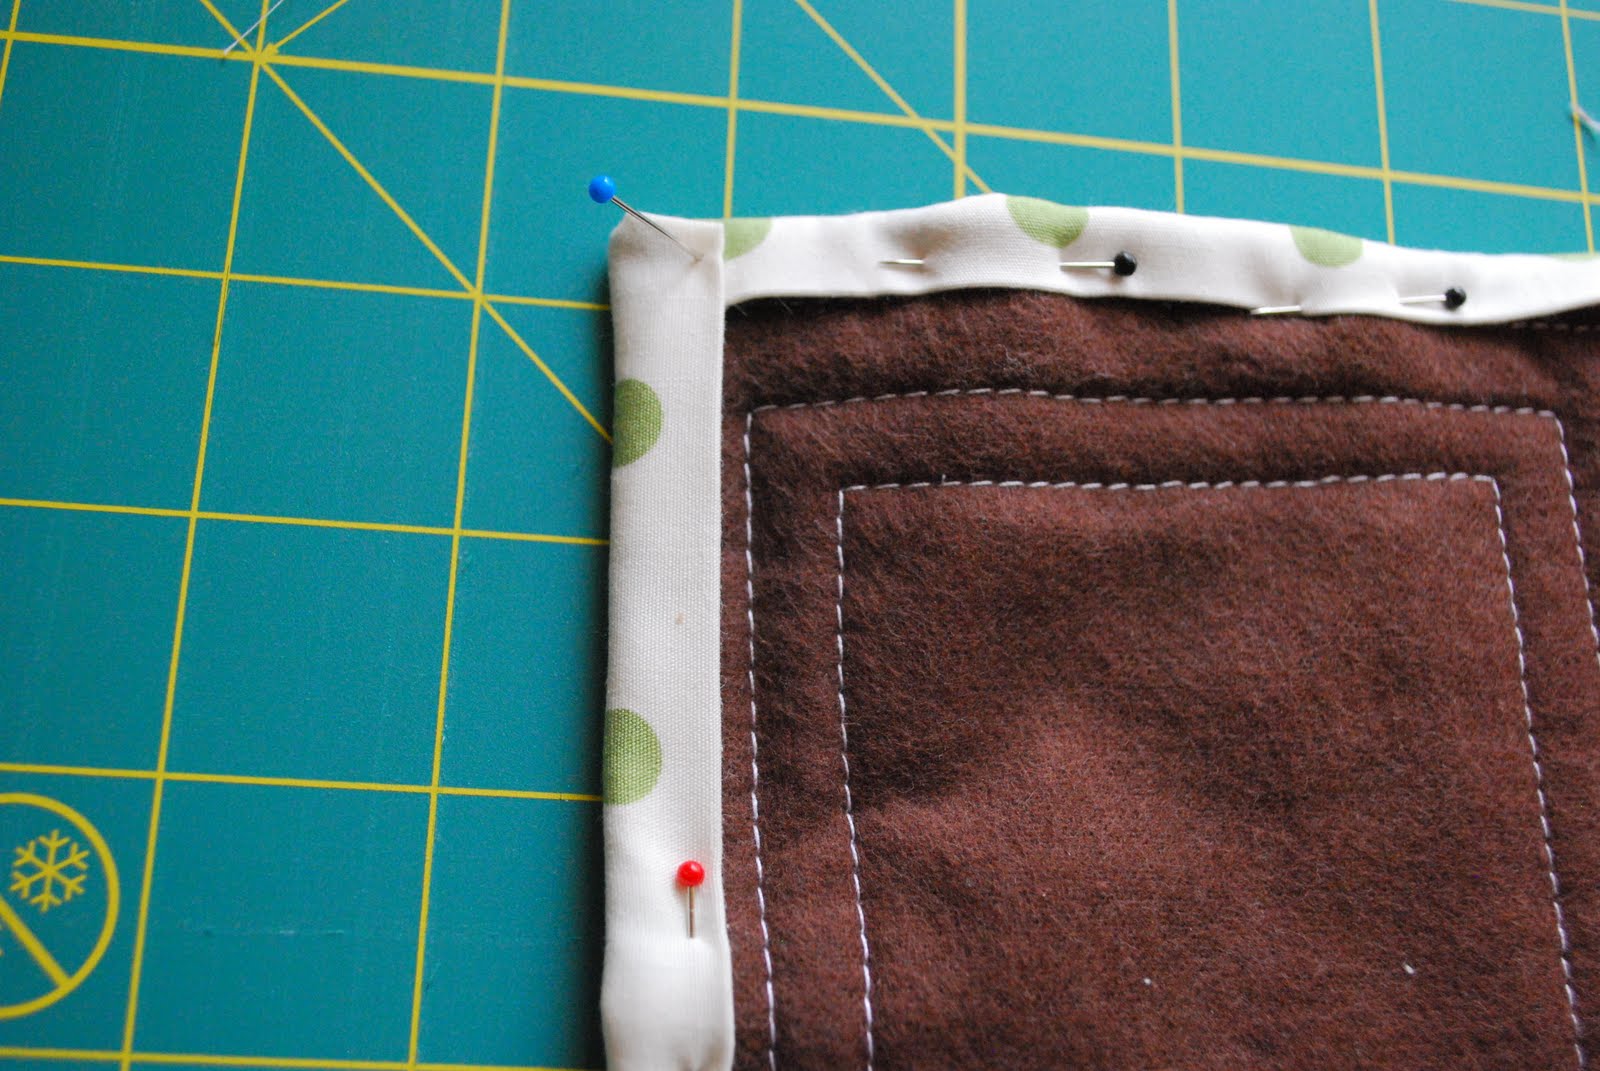
Using your straight pins,
pin the binding to the back of the quilt.
When you reach a corner,
fold the binding fabric at an angle (see picture below)
And then fold over itself.
Start hand stitching the binding.
I try to hide the thread between the binding fabric and the quilt backing.
Alternating stitches between the two.
Continue all the way to the end and stitch the corner down to make sure it is secure.
Continue all the way around the quilt.
And you are done!
One sweet little baby quilt!